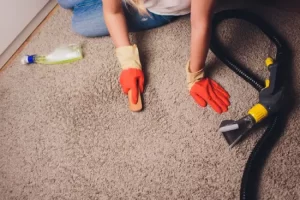
Installation of wall-to-wall carpet on your own might sound daunting, but if you have the right tools and perseverance, it is an easy task and can do it by yourself. If you are already owning a carpet, you will have to prepare to remove it before you are starting with the process of carpet installation. Installation of the carpet can be a hard task for your knees and back. In order to overcome the tough job, you need to have little perseverance and you will find yourself as the owner of a new wall-to-wall carpet.
Getting New Materials
- Step 1 – First, you will need to vacuum and clean the floor. It is the best time to make sure that the underlying floors of your carpet is clean. Vacuum or sweep up any of the debris from the area. Mop the floor as well. Allow the floor to dry for at least an hour before you continue to install the carpet. If you do not have any pre installed carpet on your floors, you just need to clean the floors.
- Step 2 – Now measure the length as well as the width of the room. In order to purchase enough carpet and padding, you will need to know the square foot area of the room. Start the measurements of your room on the longest side and not down the number on a piece of paper. Do the same thing on the other direction as well.
If your room is not rectangular, divide it into several rectangles and measure the area of each of the rectangle. Alternatively, you can assume your room to be roughly rectangular, adding an extra bit according to your estimation. If one of the walls of your room are dripping, then measure both the walls, increasing the estimate by a foot on that particular wall. - Step 3 – Determine the area of the room by multiplying the length and width of the room. This will help you in determining the area of the room and the amount of carpet required to cover the room. You will also need to add about 10 to 20 percent to the amount of estimation. You will make mistakes when you are putting in the carpet. Moreover, you might have issues with obtaining cut pieces that are required to fit in the areas that you have left to cover after the main pieces are down. It always better to have more than you require rather than to run back to the store due to shortage of padding or carpet.
- Step 4 – Remember to purchase the padding and carpet based on the area of measurements that you have already obtained. While you are purchasing these supplies, they will be listed in square feet or meters. Therefore, you need to compare the area of the carpet required in terms of meters or square feet.
- Step 5 – Determine the amount of tack strip that you would require. If you are using the existing tack strip, just measure what you have removed as it was damaged. If you are not using the existing tack strip, just use the measurements of the length and width multiplied by 2, plus 10 percent. The tack strip would need to go around the entire border of the room. When you are deciding on the tack strips, look for the widest option in the store.
Putting Down The Padding and The Tack Strips
- Step 1 – Nail down the tack strips in the place where required and place them about 0.25 to 0.50 inches from the wall in a straight line. Make sure that the tack strips are pointing towards the wall and not the centre of the room. Use 2 nails for each of the strips, nailing it into the wood below. Some tack strips come with the nails that are already in place and you will just need to hit them in.
If you are about the cut a strip to its size, slice it with the help of a handsaw. You can pound the tack strip on the concrete floor in the same way as you would be pounding it on the wooden floor. You can do so if the concrete of your floor is soft enough. If not, you will have to drill holes at the places where the nails would be inserted using a concrete bit of the same size and then pound the aluminium nails into it. You will also need tacking strips around things like floor vents. - Step 2 – Ley out the padding on the floor. Roll out the padding, starting from one side of the room and move to the other direction. Slice the padding off with a box cutter when you have reached the other side of the wall. Make sure that you have enough padding on both the ends. Cut it off from inside of the tack strips and roll out the next set of padding right to the first. Make sure that the seams matches evenly so that there are no valleys and hills on the floor.
- Step 3 – With the help of a staple gun, staple the padding into place. Walk across the floor and press down the staples at a distance of every 2 feet. Make sure that the padding is stapled along with the inside edge of the tacking strip so that it is held in place against the strip. If you have concrete floorings, avoid using staple gun to hold the padding in place. You need to use padding glue under the padding so that it remains in place on the floor. Just fill up one side at a time so that the glue is applied in an even layer.
- Step 4 – Hold the seams together with the help of a duct. After you have rolled and cut the whole floor, use a long piece of duct tape down each of the seam. You might have to use more than one strip, but the duct tape will help in keeping the seams together. Smooth out the area with your hands. Make sure that the seams does not come up.
Placing The Carpet
- Allow the carpet to sit for at least a day. The carpet will require this time in adjusting the temperature as well as the humidity in your home. This is because it might be expanded or shrink based on the conditions. Therefore, you want to make sure it is through the process before completely putting it down. You can leave the carpet rolled up during the time.
- Now cut the carpet into size if you do not have any space to do it within the room. If your room is small enough, you will not have enough spacing on the floorings to bring the carpet in and cut it according to the measurements obtained. Leave some extra space on either end so that you do not end up with a very short piece.
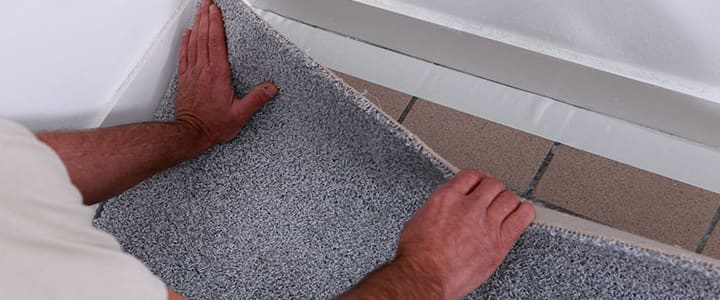
- Now roll out the carpet and start from one end or corner of the room. Leave a gap of 3 to 4 inches on each side of the carpet against the wall. Unroll the carpet, covering the floor and tack strips as you continue. Line up the edges of the carpet as required making seams and covering the entire area of the floor. Do not forget to check the texture of the carpet and make sure it is going in the same direction.
- Place seaming tape underneath seams making the sticky part facing upwards. Place the seam of the carpet over the tape and make sure that both edges are covered. If possible, try to place seams in hidden and low-traffic areas.
- Now heat the tape with the help of a seaming iron set the iron to 2 or 3. Lift the carpet up from both sides so that it is easier for you to slide the seaming iron underneath the carpet as well as on top of the tape. Leave the iron in place for about 8 to 10 seconds, until the adhesive melts and then moving it down. Press down on the part of the seam that you have just heated so that the carpet sticks properly to the tape.
- Now seal the seam with the help of a carpet roller. Run your thumbs over the exact centre of the seam and make sure that it is in place. Use a carpet roller, go over it several times, and run it back and forth along the seam. Continue the process as you are heating each section and not only at the end. Wait for 20 minutes after the rolling the seams before you are tacking and stretching it.
- Tack the carpet into its place on one wall with the help of a knee kicker. Place the tooth edge of the knee kicker on the carpet, near the wall in a corner. Leave a gap of about 3 inches from the wall and hit the flat, vertical part sticking out on the other end with the help of your knee. Make sure to apply enough force. When you are hitting the kicker, it helps in tacking the carpet on to the strip.
- You have to perform carpet stretching the carpet across the room and tack it on the other side. Using as much strength, you can pull the carpet so that it is taut into the room. Use the knee kicker to tack it onto the wall as well. Make sure that the lumps are out of the carpet.
You can also use a carpet stretcher for the process, which is a good idea while you are having a large room. In order to use one, place the flat end of the stretcher against the wall where you have tacked the carpet first. Then place the flat part on the floor. The stretcher has lever that would provide you the advantage and the head will push the carpet across the floor for Carpet Stretching Melbourne. - Lastly secure the carpet in the rest of the room with the help of the knee kicker. Tack the other edges of the carpet with the help of a knee kicker, stretching the carpet as tight as possible while you are moving around the room. Remember, you will have excess carpet on each of the sides that can be trimmed off within a few minutes.
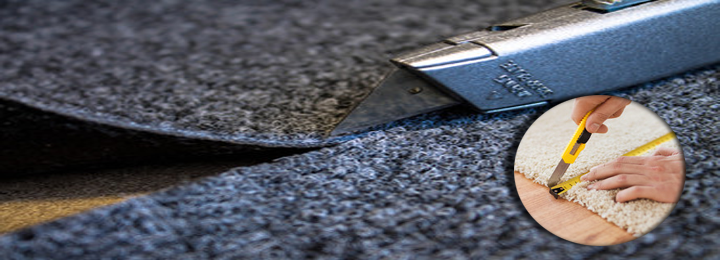
Trimming The Carpet
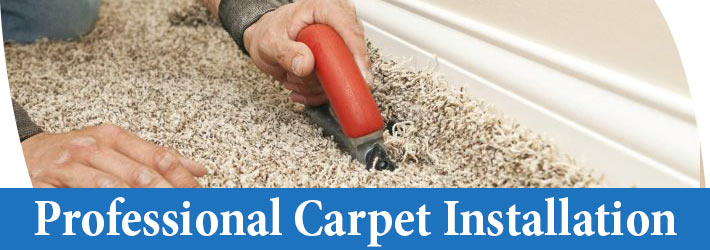
- Step 1 – Run the carpet-trimming tool along the edges. The carpet tool has a flat metal runner at the bottom, a handle at the top and a blade at each end. Press the tool flat against the carpet and right up against the baseboard on the sharp side. Apply pressure on it and push it along the wall. You can use a box cutter for the purpose, but remember that the blade should be sharp and new. Run the trimmer underneath the baseboard so that it is easier to cut the carpet. If its starts to get dull, replace the blade. Use a box cutter for cutting out spaces for your floor vents.
- Step 2 – Check that you are cleanly cutting through the carpet before taking off the strip. Look along the edges of the strip that you have cut off. Make sure that none of the strings are connected to the strings of the main carpet and then pull it off from the carpet. If you have yanked up the strip without checking, the fibres from the carpet might be pulled from the carpet, thereby causing a run.
- Step 3 – Press the edge of the carpet under the baseboard with the help of a carpet chisel. The chisel is a dull and wide blade that lets you set the carpet in place. Use it for wedging the carpet under the baseboard by pressing into the carpet until it has set in place. Put all the hardware in place that you have removed before installing the carpet. Put all the doors, floor vents and other belongings or furniture in place and you are done.
To Get The Services On Call
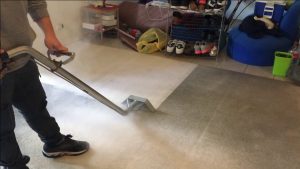
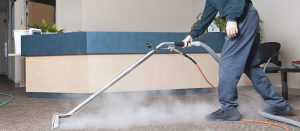
Carpet installation requires not only requires a lot of hard work, but also requires to be performed with precision and expertise for the whole process to make the carpet installation perfect. This is not an easy task for everyone and most of the people are not able to adjust the process with their busy schedules. We at Spotless Carpet Steam Cleaning, renowned as the best carpet repair company, have a team of experts and handle any types of carpet at small or big houses and apartments. We also handle installing carpet at hotels and condominiums. If you have realized that the process difficult and decided to leave the entire process at the hands of professional carpet installation services, contact with us without any hesitation.